DIY Guide: Installing Luxury Vinyl Plank Flooring Like a Pro


Introduction to Luxury Vinyl Plank Flooring
Luxury vinyl plank (LVP) flooring is a popular choice for homeowners seeking the look of hardwood without the high cost and maintenance. Known for its durability and water resistance, LVP is perfect for any room in your home. In this DIY guide, we'll walk you through the steps to install LVP flooring like a pro.
Gathering Your Tools and Materials
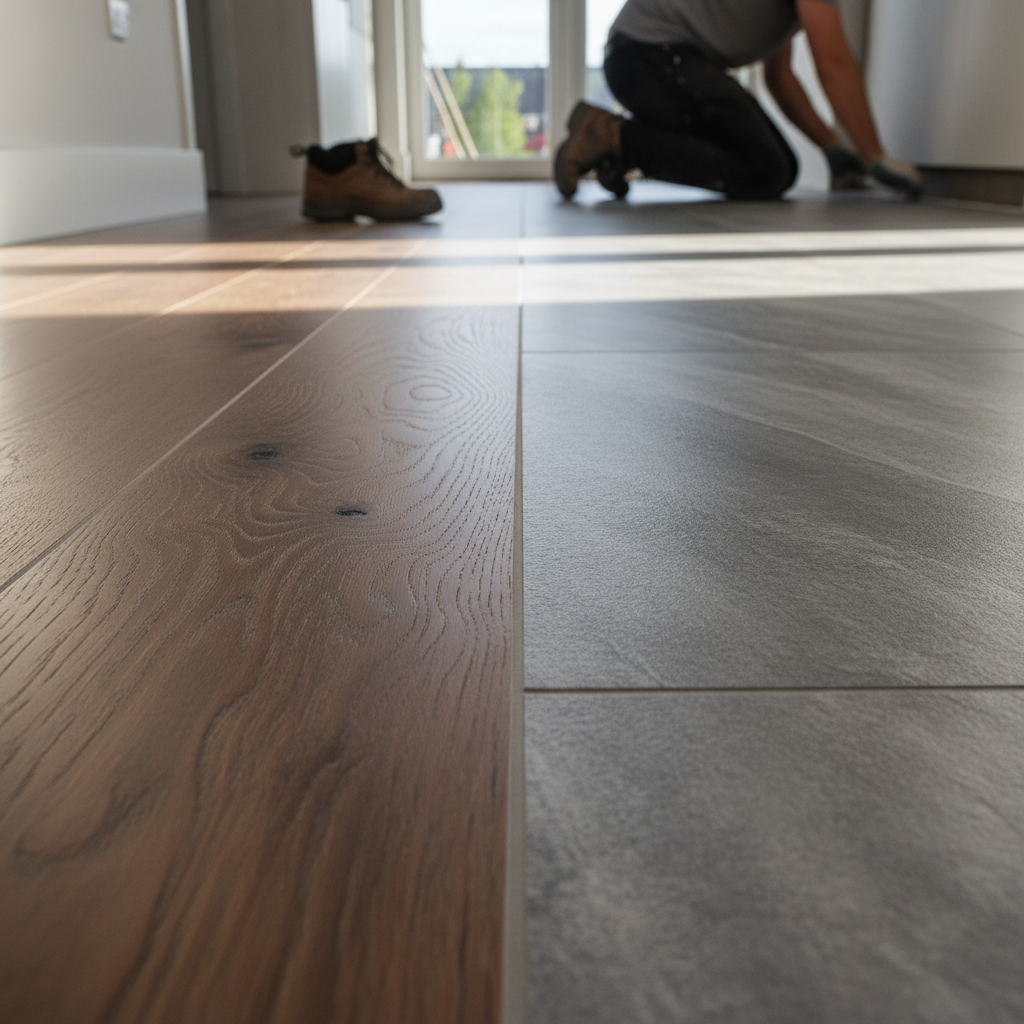
Before starting your installation, it's essential to gather all the necessary tools and materials. Here’s what you’ll need:
- Luxury vinyl planks
- Tape measure
- Utility knife
- Carpenter’s square
- Tapping block and rubber mallet
- Pull bar
- Underlayment (if needed)
Having these tools on hand will ensure a smooth installation process.
Preparing the Subfloor
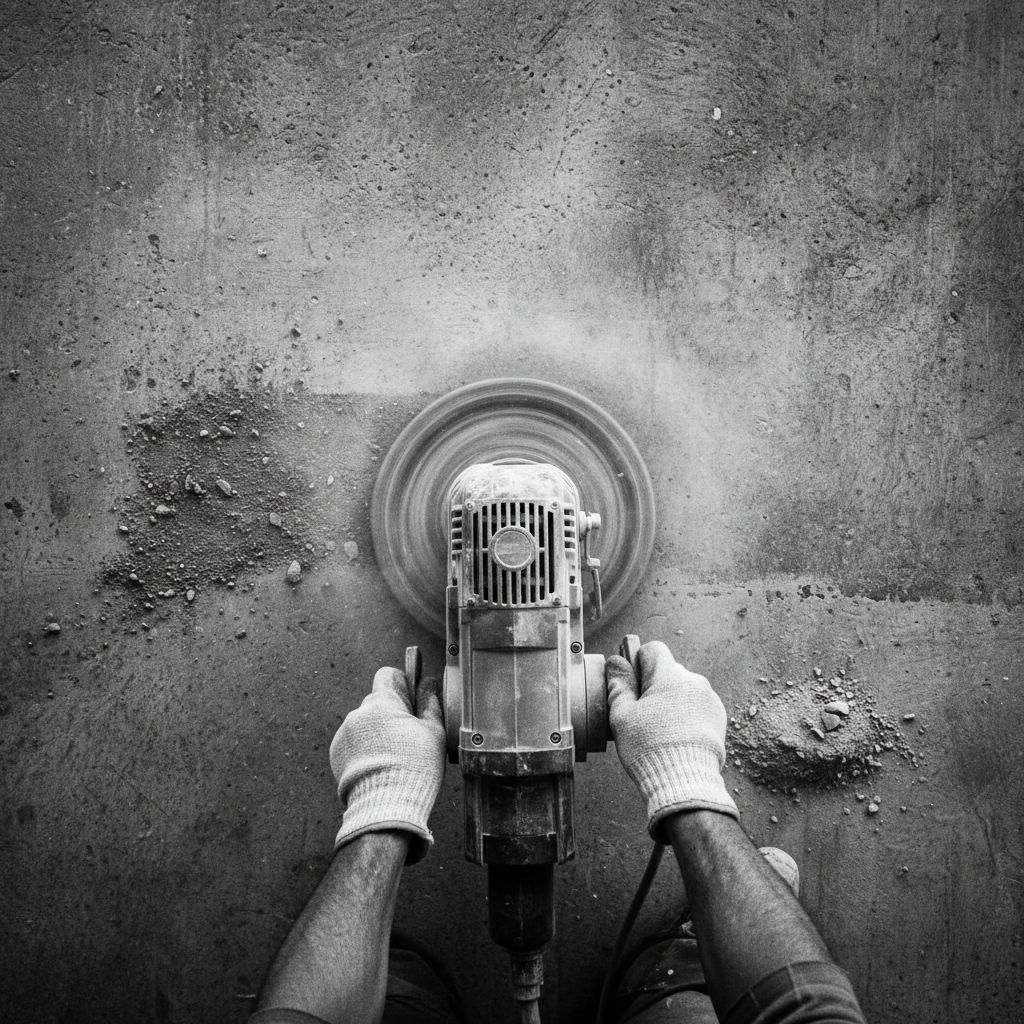
Proper preparation of the subfloor is crucial for a successful LVP installation. Begin by cleaning the subfloor thoroughly, removing any debris and ensuring it is level. Fill in any gaps or low spots with a leveling compound if necessary.
If your subfloor is concrete, consider using a moisture barrier to prevent any potential water damage. For wooden subfloors, ensure all nails and screws are flush with the surface.
Acclimating Your Vinyl Planks
Before installation, let your vinyl planks acclimate to the room’s temperature and humidity. Place the unopened boxes in the room for at least 48 hours. This step helps prevent any expansion or contraction after installation.
Starting the Installation
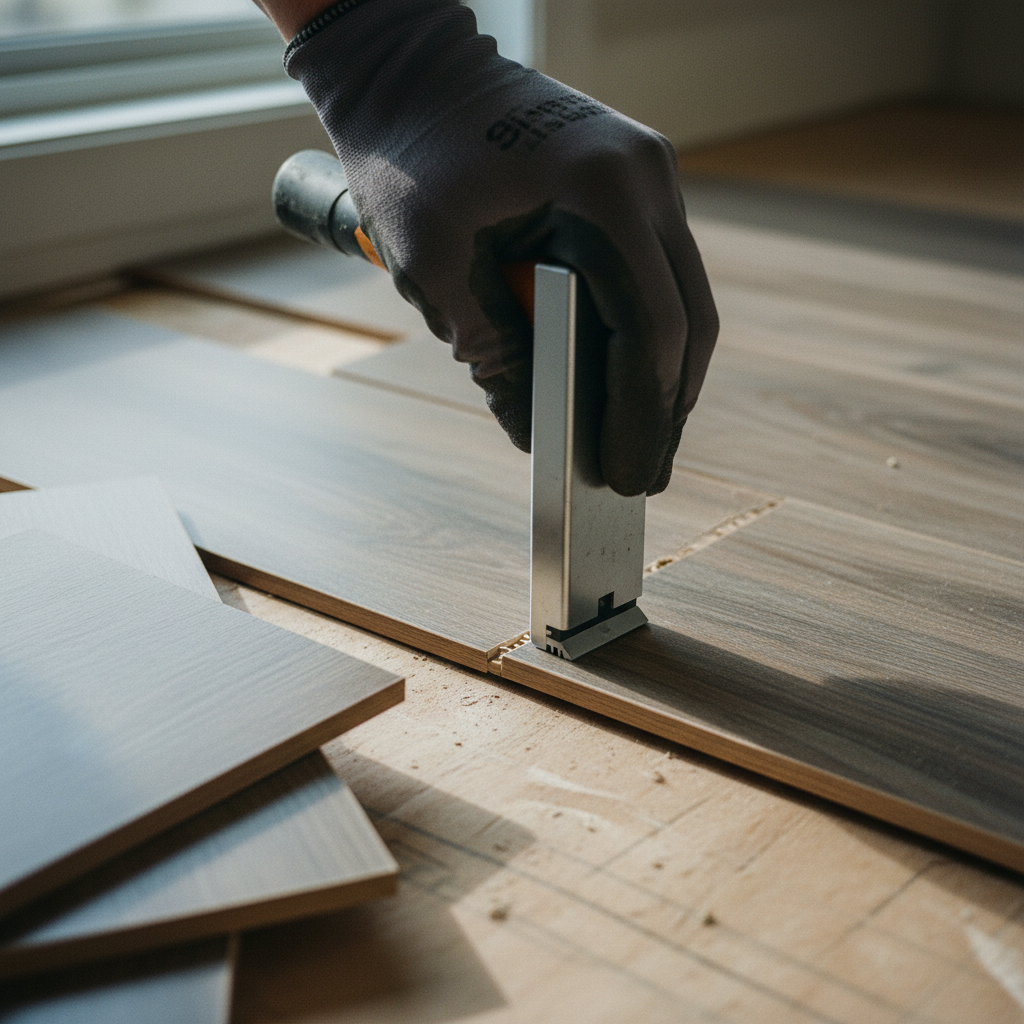
Begin by laying the first row of planks along the longest wall. Use spacers to maintain a gap of about 1/4 inch from the wall, allowing for natural expansion. Cut the last plank of the row to fit, leaving the same 1/4 inch gap.
Continuing the Installation
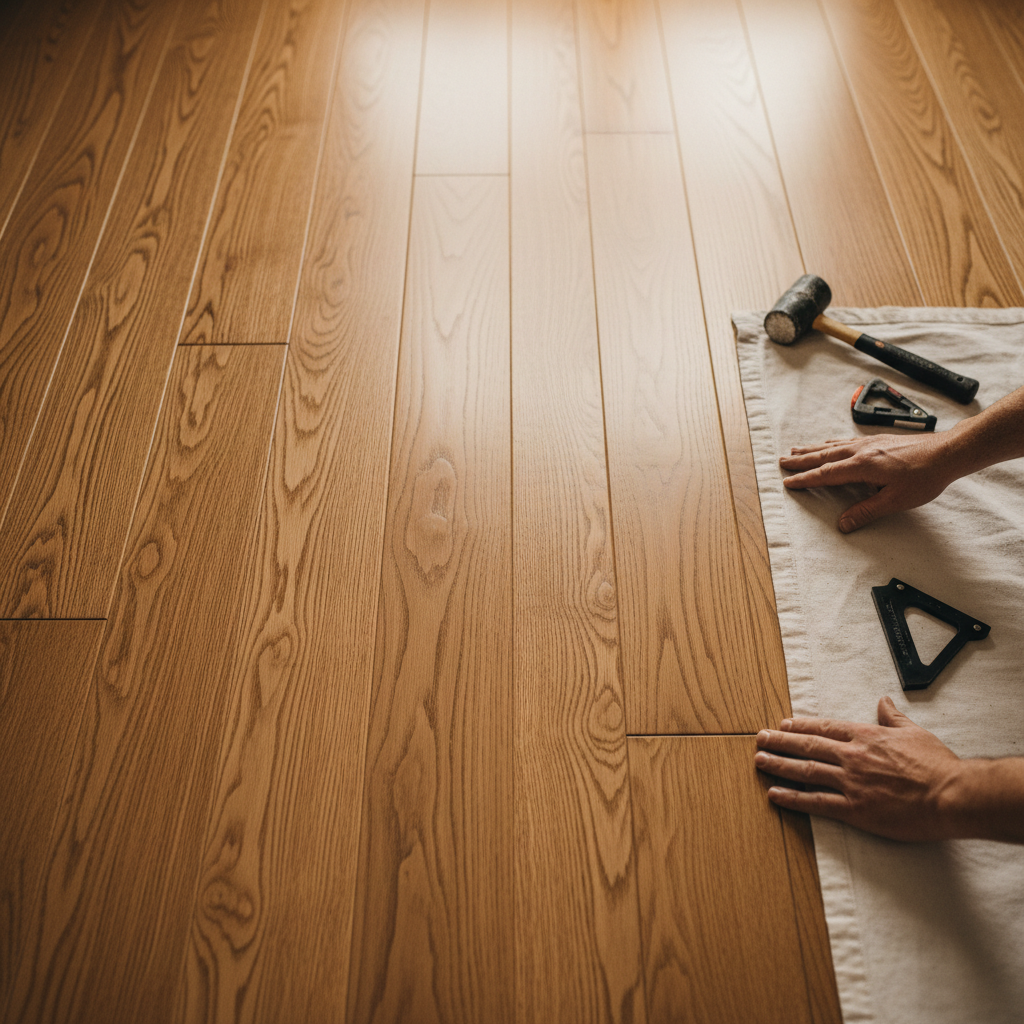
As you start the second row, stagger the seams by cutting the first plank to a different length. This pattern enhances the floor's appearance and stability. Use the tapping block and rubber mallet to ensure a snug fit between the planks.
Continue this process until the entire floor is covered, checking periodically to ensure the planks are secure and aligned correctly.
Finishing Touches
Once all planks are installed, remove the spacers and install baseboards or moldings to cover the expansion gap around the room’s perimeter. This step gives your floor a polished, professional look.
Maintenance Tips
To keep your luxury vinyl plank flooring looking its best, follow these maintenance tips:
- Regularly sweep or vacuum to remove dirt and debris.
- Use a damp mop with a gentle cleaner specifically designed for vinyl floors.
- Avoid using abrasive tools or harsh chemicals that might damage the surface.
Following these steps ensures that your new LVP flooring remains beautiful and long-lasting.